RedCat 51 and ToupTek ATR3-16000-KPA for lightweight astrophotography
RedCat 51 is a lightweight and portable telescope-lens from William Optics. With 250 mm of focal length at f/4.9 it can be used for widefield deeps space imaging or during daytime as a tele-photo lens. I've paired it up with ToupTek ATR3-16000-KPA - a cooled camera with large color sensor. Here is my initial take on the setup.

Horse Head nebula 10s x 200

DS imaging setup
RedCat 51 telescope
You will find a lot of content on this telescope on YouTube as well as on astronomical forums. The design is pretty good and got some popularity going. RedCat is available in Red, white and metallic gray colors with some variations of accessories and modifications. William Optics lists it at 728 USD and it's a quite compelling package. In the price we get the telescope, vixen dovetail with photographic tripod thread as well as Bahtinov mask integrated with the lens cap. The outer shell can be unscrewed, flipped around and screwed back in as a dew shield. Among optional accessories you can pick finderscope mounting bracket, various DSLR adapters, diagonal for visual observations and alike. It also does not require any additional field flatteners which makes the whole setup much cheaper. And it comes with a nice carrying bag.
- Focal length: 250 mm
- Aperture: 51 mm
- f/ratio: 4.9
- Optical design: Petzval (4 elements in 3 groups); FPL-53 glass
- Weight: 1.8 kg
- M48 thread, 2" filter can be mounted inside draw tube

Daytime image

RedCat 51 lens
Focusing
Focusing is done via the large grip on the camera body. The smaller ring in front of it is there to adjust tension of the focuser. The lens cap can have it front unscrewed to reveal a Bahtinov mask allowing for precise focusing on stars while doing astrophotography.
You may find some peoples modifications that put motofocus on this ribbed focuser grip. It's handy for remote operations as well as for fine focusing. When focusing by hand it may be very hard to move the focuser by a very small amount - it's easy to overshoot.
Bahtinov mask in the lens cap
For fine focusing I opted for TS-Optics short T2 Helical Focuser & Adapter from Teleskop-Express. It's a T2-T2 19-29 mm non rotating helical focuser that is much easier to use for fine focusing with conjunction with the main focuser for crude focusing. As it doesn't rotate the threads itself it won't change the camera orientation nor will it start twisting cables going to it.

Helical focuser retracted

Helical focuser extracted
Filters
The M48 drawtube-adapter can be unscrewed revealing a 2" filter thread inside. This can be really handy for color cameras as one light pollution
filter can be neatly placed there. I opted for 2" Baader Neodymium Moon & SkyGlow filter which in it newer revision is also an IR/UV cut filter which makes it that more better for astrophotography (ToupTek camera has one on the cover glass, but not every camera will). It's not the strongest filter for cutting out light pollution but also alters colors in a small amount. For pure nebulae imaging I got recently a UHC-type filter (passing H-alpha, [S II], [O III] and H-beta while cutting much more yellow/orange band most affected by light pollution). It's a svbony filter which looks like a Optolong rebrand. At 33 EUR for 2" filter it was a great deal (filters of both companies do get discounts on Aliexpress from time to time).

2 inch filter inside the drawtube
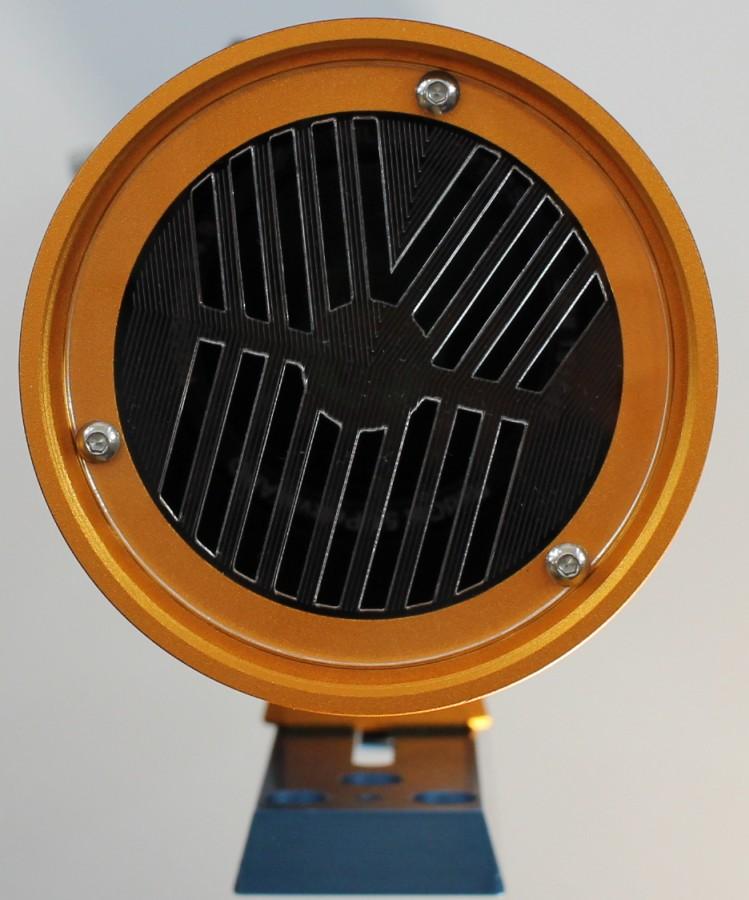
ToupTek ATR3-16000-KPA camera


ToupTek ATR3-16000-KPA
This is a TEC cooled DS camera equipped with a color Panasonic MN34230 sensor (same as in for example ASI1600MC). ToupTek is a Chinese company that makes various microscope and astronomy cameras. They become more know first by offering Solar System cameras branded under various shop names like Altair Astro. Right now their supply branded cameras to Explore Scientific, Astroshop and many other shops. On Aliexpress they list their products under RisingCam brand. They do provide a set of drivers, general purpose capture application ToupSky as well as ASCOM drivers.
I managed to grab ATR3-16000-KPA locally from Astroshop.eu at a discount but in general you should expect prices above 800 EUR within EU. Aliexpress prices may be lower but you may get import duties/tariffs depending on your location. Local branded options could also be available.
Panasonic MN34230 is a popular sensor used in cameras like ASI1600 or Atik Horizon. It's a relatively large, almost APS-C sized CMOS sensor that provides good field of view for imaging. ToupTek also offers a mono variant but like others - at a bit higher price.
The camera design is quite similar to that of ZWO. It's a USB 3 camera with separate power plug for the TEC as well as USB2 hub. From the telescope side it ends with a T2 thread. Comes in a rigid peli case.
Drivers can be downloaded from ToupTek website. Their general purpose app seems to work fine, although amount of options can be overwhelming and the UI could use some usability work. For DS imaging I just used Nebulosity 4 via ASCOM driver. It works just fine although the application allows only for saving RAW frames (shows no image when switch to debayered frames in ASCOM camera setting). You should save RAW anyway so it's not a problem.

ToupSky
From my only brief initial testing the camera works well and there are no issues with noise patterns and alike when compared to other cameras with same sensor.

Dark frame preview (double bin2 sum, histogram clip)
Image acquisition and processing in Nebulosity and PIPP
Nebulosity 4 offers a very handy interface for DS imaging. ToupTek camera works really well with this application. To start imaging pick ASCOM camera type, then go to ASCOM camera setting and pick your camera setting (can be default if you aren't sure). Confirm and you should be good to go. You can set TEC cooler in the advanced settings.
Frame and Focus
mode is very handy for what it says. The default histogram clipping brings out features out of the background so you should have some nebulae visible on the preview which then will be handy when framing. You can start focusing on the preview but for the fine focusing use the native size image. RedCat bahtinov mask seems to be working really well as the spikes are clear and easy to focus on.

Bahtinov mask makes it easy to focus with a camera

Frame and Focus mode
As it's a CMOS sensor with relatively low read noise single frame exposure time doesn't have to be long (while total integration time still has to be). I'll likely be using 60-180 second exposure. Shorter exposures could also work but the amount of large frames to process could get high pretty quick. For the initial quick test I used 5 and 10 second exposures as I didn’t had smaller counterweight to balance everything properly.
The processing path in Nebulosity 4 would look like so:
- Stack dark frame (and flat/bias if needed/provided)
- Create bad pixel map out of master dark frame (sometimes you can do that on specific light frame if needed)
- Apply bad pixel map to master dark
- Apply bad pixel map to light frames
- Apply cleaned dark frame to light frames (and bias/flat if provided)
- Debayer
- Stack

Moon on a RAW frame

Orion nebula 5s x 200

Orion nebula - overprocessed
Nebulosity offers an option to debayer RAW frames, although for this sensor it gets the Bayer pattern incorrectly which makes red appear as blue and alike. I had to debayer in PIPP with correct pattern selected.

PIPP debayering
Bad pixel maps in Nebulosity corrects hot/warm pixels in a more explicit way than what could happen with just a dark frame in some apps. Instead of replacing such bright pixels with black pixels and getting black pixels trails/marks on the final image it will try to put an average of surrounding pixels so that with luck there will be no mark left.
the final processing would follow such operations:
- Clip the curves and crop the image cutting out edges of the stacked image that aren't clean (if you have dihtering or image drift then the edges will be darker, made from less frames)
- Save the FITS for processing
- Disable histogram clip and move the markers to starting positions
- Use one of processing paths and then compare results
- You can use curves profiles to apply them multiple times until the images becomes clearly visible but noise won't come out yet (you can then cut the histogram from the left side to limit background brightness)
- You can also use built in DDP processing - on it own or with curve profiles.
I'm planning a detailed processing guide later on when I get some good data.

Finderscope guider with QHY5R-II


Comment article